
[NOTE: This article has been somewhat ‘Overtaken by Events’ - the latest version of Blogger has actually fixed a lot of the long-standing bugs and annoyances mentioned below. That said, I still tend to compose most of my more longwinded posts using the methods here. I’ve just never really taken to composing directly ‘in-browser’]
Here is a quick outline of the procedure I use when preparing an article for a blog hosted on Blogger, of which there are several to which I contribute my words of infinite wisdom. It’s not a definitive guide and I’m not making any claims that this is the ‘right’ way to do it but, as anyone who blogs even semi-regularly via Blogger knows, the process can be teethgrindingly irritating. After many years of trying different approaches [including using desktop clients like MarsEdit and Ecto], this is the method that works best for me.
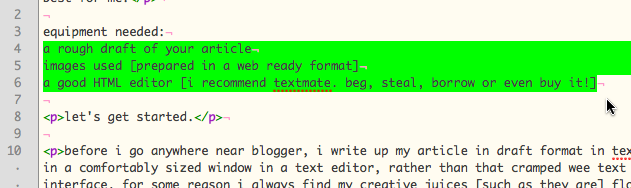
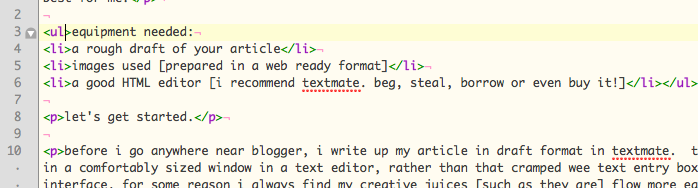
Equipment needed:
-
A rough draft of your article
-
Images used [prepared in a web ready format]"
-
A good HTML editor [I recommend TextMate. Beg, steal, borrow or even buy it!]"
Let’s get started.
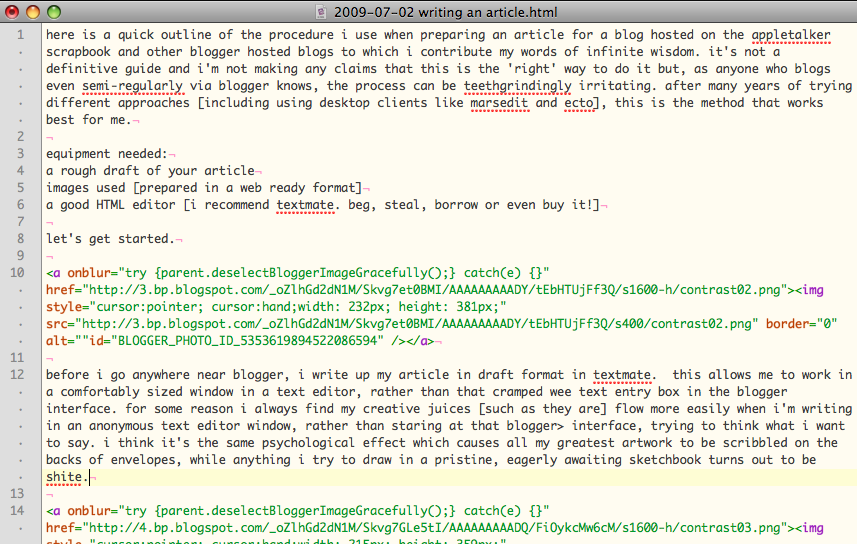
Before I go anywhere near Blogger, I write up my article in draft format in TextMate. This allows me to work in a comfortably sized window in a text editor, rather than that cramped wee text entry box in the Blogger interface. For some reason I always find my creative juices [such as they are] flow more easily when I’m writing in an anonymous text editor window, rather than staring at that Blogger interface, trying to think what I want to say. I think it’s the same psychological effect which causes all my greatest artwork to be scribbled on the backs of envelopes, while anything I try to draw in a pristine, eagerly awaiting sketchbook turns out to be shite.
Draft version of article - written in TextMate:
OK- so I’ve written up the text of my article. The next step is to source and prepare any images I want to include. For this I tend to use ‘The Daddy’ [aka Photoshop] but any image editor which will allow you to save images in a webready format will do.
I’m not going to go into the ins and outs of the various web-friendly image formats out there, but basically; GIF for graphical style images [logos, line-art etc], JPEG for photographic images and PNG for either [although PNG files tend to be larger in filesize than either GIF or JPEG]. If you want a handy hint on how to remember which format for which type of image, learning the meaning of the acronyms will help; GIF stands for Graphics Interchange Format and JPEG stands for Joint Photographic Experts Group.
When saving web-ready copies of my images, I usually make them no larger than 800px on their longest side. Blogger scales the images down to a maximum of 400x300px anyway for display on your blog, so as not to break the standard template layouts. [Tho’ people can click on the image to view a larger version in its own window], so you might as well scale your images with that in mind. Unless you’re showcasing your photographic talents with high resolution imagery, I dinnae see much point in uploading an image four times larger than it’s going to be appear on the page. you might as well work to just over display size, so you know that the image is going to be ‘readable’ on the page at its reduced size.
It’s at this point that I usually darken Blogger’s door for the first time, and create my new article.
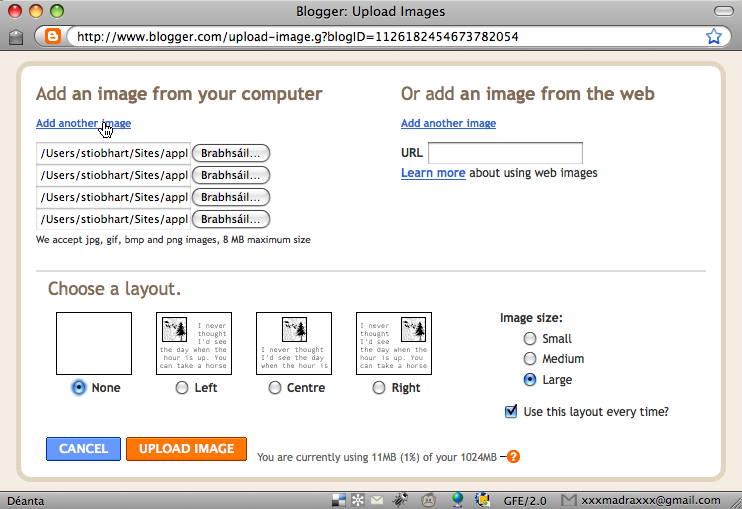
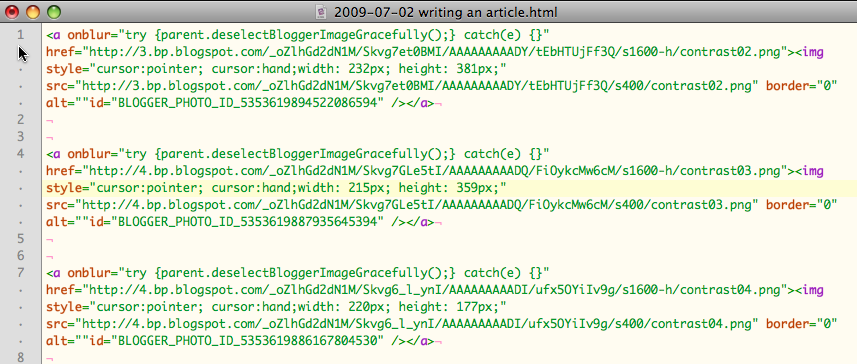
Before I type a word of text, I upload all my web-ready images into the new empty article. The reason I do this is because of one of the most infuriatingly irritating bugs in Blogger; whenever you add a new image, Blogger inserts the code for it at the beginning of the HTML for the article, irrespective of where the insertion point is in the text. This means that if you are in the middle of writing a long article directly in the Blogger interface and you try to add the images as you go along, you have to constantly scroll to the top of the article [and remember this is all taking place in a postage stamp sized text entry box in your web browser], cut the code for the newly inserted image, scroll back down again to where your insertion point used to be and paste it in there. It’s much less hassle to just dump all the images in at the start and then work the text in and around them as necessary.
Uploading the images in Blogger. use the ‘Add Another Image Link’ to queue your images in batches of five at a time for uploading. Set layout to ‘NONE’ size to ‘LARGE’ and make sure to upload them in reverse order!:
BTW - all the references to working in the Blogger interface in this article assume I am working in edit HTML mode, rather than COMPOSE mode. In my experience COMPOSE mode generates such a complete hash of code spaghetti that when [not if!] something goes wrong with the layout, you’ll be tearing your hair out, wading through all the auto-generated proprietary code tags, trying to sort it out. Much easier and cleaner to write your own HTML and use Edit HTML mode to work in.
Compose mode = Divil’s Butthermilk!:

I also turn off the preference [you’ll find it under SETTINGS > FORMATTING] to automatically convert linebreaks, as I like to have complete control over the HTML code I’m using, and not rely on the Blogger engine to second guess what I’m trying to do. Besides which, this option generates loads of fugly <br /> tags in your code, instead of proper grown-up <p> … </p> tags
Turn off auto-linebreak creation:

One more caveat with image uploading; not only do I upload all my images before writing a single line of my article in the Blogger interface but - just to make it even more fun! - I also upload them in reverse order.
'Why is this?', you ask, with an idiotic expression playing about your simian features.
Well, dear reader, it’s because of the abovementioned fact that Blogger will insert the code for each new image, as I upload it, at the top of the HTML code for the article. So if I have three images to put in my article [let’s throw caution to the wind and name them image01.jpg, image02.jpg and image03.jpg] then, if I upload image01.jpg first and then image02.jpg, the code for image02.jpg will be inserted above the code for image01.jpg. Carry on with the process for all your images and you’ll find they appear on your page in reverse order.
Dontcha just l-u-u-r-r-r-ve Blogger!
One other thing I do is to use LAYOUT - NONE when uploading images. While this may not be as visually sexy as using the left, center [sic] or right options, which generate CSS float tags, it’s a lot less hassle, as you dinnae have to faff about putting in ‘clearing tags’ where your text has wrapped round your images in unwanted ways. Also set image size to large. This will make Blogger use the actual size of the image if under 400x300px, or a maximum of 400x300px, if larger.
So to summarise where we’re up to so far:
-
Write the draft of your article in a text editor
-
Prepare your images in web ready format [max size 800 x 600]"
-
Create a new empty article in Blogger and upload all the images into it in the reverse order they should appear on the page
Once you’ve uploaded all your images, you’ll have a nice chunk of HTML code in your Blogger article, which will look something like this:
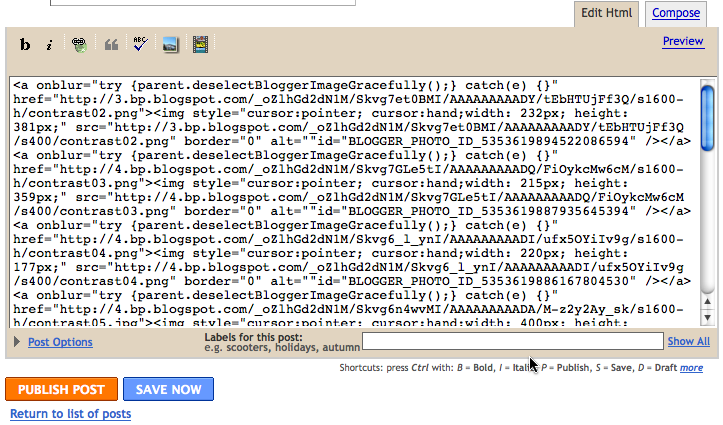
At this point it’s time to abandon Blogger's shitty interface and return to the saner world of your favourite HTML editor.
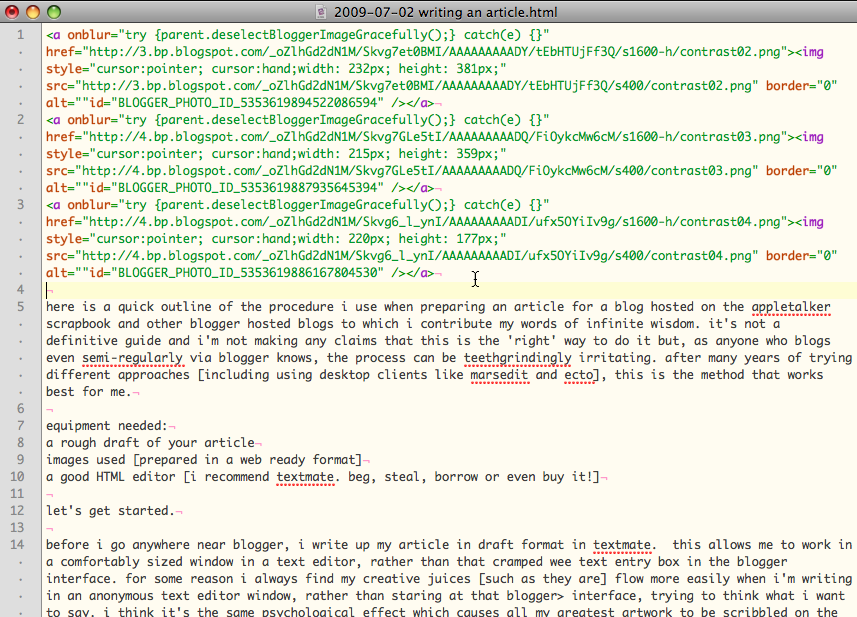
I now cut all the HTML image code from the Blogger window and paste it into the top of my draft article document in TextMate [remembering to set the document mode to HTML, so that I get access to nice syntax colouring and also TextMate's excellent HTML editing tools].
Image code pasted into my TextMate draft:
AT this point, this article is going to start reading a bit like an advert for TextMate. I apologise in advance for this. I’m not on commission from Macromates, nor do I have any links with the company or the developer, I just happen to think that TextMate is the Dog’s Bollox©, when it comes to text editors on the Mac. You may have your own favourites, but let me indulge myself by showing you how easy TextMate makes it for me to format up my blog articles.
The first thing I do is put a few linebreaks in between the HTML code for each image. This disnae alter the formatting of the article in any way, as HTML ignores whitespace. But having a bit of whitespace between each image code block makes it easier for me to see where the ‘gaps’ are between the images, so I can start cutting and pasting the paragraphs of my draft article into the correct positions, relative to the images. At this point I make constant use of TextMate’s HTML Preview window [accessed via [CTRL+ALT+CMD+P] to make sure I’m cutting and pasting into the proper places. Dinnae worry that, at this stage, the layout is all over the place. We’ve not added any HTML tags to format up the text yet. This part of the exercise is just about getting the various blocks of text and the images in the correct order.
Spacing out the image tag blocks, so the dog can see the rabbit:
Chopping up the text and inserting it in and around the images:
TextMate preview window showing that, although the layout is still all over the show, we’re getting all the ‘bits’ in the right order [BTW - the images in this and a few of the other screenshots are not actually from this article. That’s because this article is one of those rare - and confusing! - ones where the article is effectively documenting its own creation. This makes it a bit difficult to include the actual images at some points, without causing huge rents in the space/time continuum. So you’ll just have to use your imaginations!]:
Now that the text has been cut’n’pasted into the proper order in relation to the accompanying images, it’s time to start formatting it up.
I now surround each paragraph of text in <p> … </p> tags. Here TextMate’s’ HTML formatting shortcuts really make the job a breeze. Select a paragraph of text and hit CTRL+SHIFT+W. This automagically wraps the selected text in HTML tags. By default these are <p> … </p> tags, so the job’s a good ‘un. Note however that the '`P’ of the opening paragraph tag is selected. if I now start typing I can change that ‘P’ inside the tag to generate any other HTML tag I want. So, if I start typing 'a href='….' the tag will turn into an anchor [or link] tag, instead of a paragraph tag. The really nice thing is that as my typing changes the beginning tag, the end tag automatically changes to match.
Hand-coding HTML made easy, the TextMate way:
Select your block of text:

Hit CTRL+SHIFT+W and TextMate surrounds the text in <p> … </p> tags

If you dinnae want a paragraph tag, just start typing and TextMate will automagically update the tag pair:

But, as I say, I usually start with just adding the paragraph tags, whereupon, TextMate’s Preview Window shows that, at last, the article is starting to look readable.
With paragraph tags added the text is now readable enough for a bit of typo-hunting:
At his stage, with my text in a readable format, I usually do the first of many ‘read throughs’, checking for typos and sentences that are badly worded, even by my semi-literate standards. Next, I go back and start adding the icing on the cake, as regards formatting up the rest of the article text; adding bold and italic tags, putting in links and making bulleted lists etc. [Incidentally the traditional text formatting commands of CMD+B and CMD+I also work for adding bold and italic tags to selected text, as well as the CTRL+SHIFT+W then type B or I method].
One last TextMate trick, before I finish my eulogy and return to getting my article up onto Blogger; Anyone who’s ever hand-coded a list in HTML knows what a ball-ache that can be. With TextMate’s HTML shortcuts, it’s a veritable piece of piss. Assume you have a chunk of lines of text which you want to make into a list:
Select the block of text:
Hit CTRL+SHIFT+CMD+W - this command differs from the regular CTRL+SHIFT+W in that it surrounds each selected line individually in a pair of tags, rather than the selected block as a whole. These tags default to <li> … </li> which is just what we wanted:
Now select your block of text again [this time including the <li> … </li> tags]:
hit CTRL+SHIFT+W - TextMate surrounds the whole block in <p> … </p>
tags =
immediately type UL [or OL if you want an ordered list] - the tags change to `<ul> … </ul>`
And there you have it - an HTML list, in less time than it takes to pick your nose. At this point anyone who’s ever hand-coded HTML before and lists in particular will appreciate why I tend to get a bit evangelical about TextMate on occasions.
One final suggestion although this isnae TextMate specific; working in a text editor you can use find and replace to greatly speed up formatting as well:
Dinnae forget that the good ol’ fashioned find/replace can speed things up too:

OK - back to Blogger. By now, thanks to TextMate's HTML generating magic, you should have your article formatted up and ready to paste into that empty article you set up previously. Proof-read a few times, fix any errors [I usually do this in TextMate and then re-paste into Blogger again] and then publish your article.
This has been quite a long article and I’m sure more than a few of you will be thinking - 'Why go to all that hassle? Why not just use Blogger’s compose mode or one of those desktop WYSIWYG apps like Ecto or MarsEdit?’.
To which my answer is:
Blogger's compose mode generates atrociously complicated and proprietary HTML code. If you dinnae care about your code, or the fact that WYS-is-not-quite-WYG then feel free to use it. Just pray you never need to hand edit it when something goes wrong!
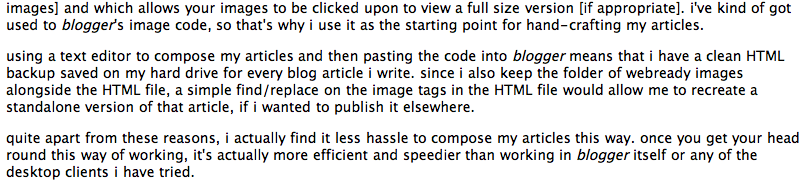
Desktop Blogger clients like Ecto and MarsEdit work well up to a point. however they generate completely different image code from that which is generated when you upload images to Blogger directly. You may actually prefer Ecto or MarsEdit's image code, as it’s more 'traditional' but the Blogger image code does integrate better with Picasa [which Blogger uses to host your images] and which allows your images to be clicked upon to view a full size version [if appropriate]. I’ve kind of got used to Blogger's image code, so that’s why I use it as the starting point for hand-crafting my articles.
Using a text editor to compose my articles and then pasting the code into Blogger means that I have a clean HTML backup saved on my hard drive for every blog article I write. since I also keep the folder of webready images alongside the HTML file, a simple find/replace on the image tags in the HTML file would allow me to recreate a standalone version of that article, if I wanted to publish it elsewhere.
Quite apart from these reasons, I actually find it less hassle to compose my articles this way. Once you get your head round this way of working, it’s actually more efficient and speedier and offers more control, than working in Blogger itself or any of the desktop clients I have tried.