
Many, many moons ago I rescued an old Wacom Cintiq graphics tablet from the skip at the college where I worked at the time. It was being chucked out, not because it was actually broken, but because Wacom, in their infinite wisdom had built that particular model [Cintiq 15X] with a proprietory DIN style connection instead of a standard USB socket. The tablet came with an equally proprietory USB-to—DIN cable which, at some point during the intervening years had got lost or broken. So, without that lead the Cintiq was effectively useless other than as an external monitor, as the USB connection is what interfaces with the digitiser/pen that allows you to draw on the screen.
Also at some point in the intervening years, Wacom had "wised up" and started fitting their graphics tablets with standard USB connectors. Unfortunately, they had also discontinued the 15X several years previously and also discontinued all spares for that model [including the vital USB-to-Din cable]. Hence this particular Cintiq’s ignominious end --in a skip with a load of other rubbish-- until I rescued it.
Well, that old Cintiq lay in one of my "Things That Might Come in Handy" boxes for ages until I recently embarked on my campaign to set myself up a bit of studio space at home [as covered in a previous post] when, having looked at the prices of new Cintiqs, I thought I’d have a crack at seeing if I could botch together some way of using it with a 'normal' USB lead.
First task was to dismantle the bugger, find the connectors board and let the dog see the proverbial rabbit. Luckily this was fairly straightforward as the tablet was held together with good ol' fashioned Philips screws, rather than the glue and proprietory fasteners which seem to proliferate today.
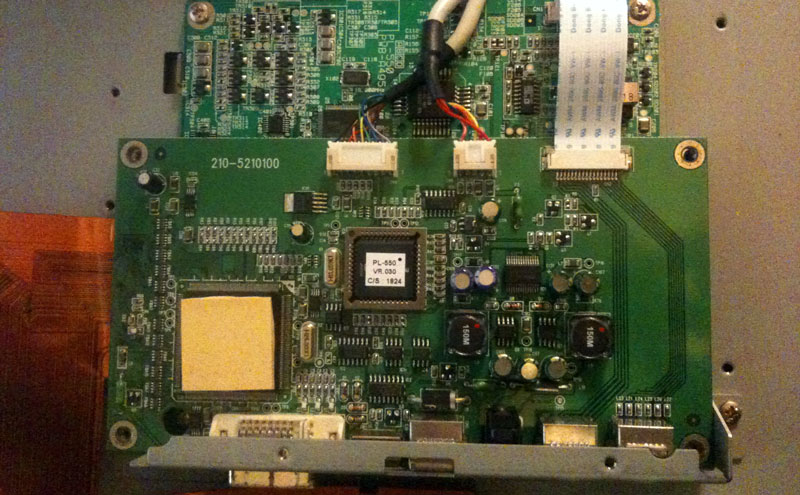
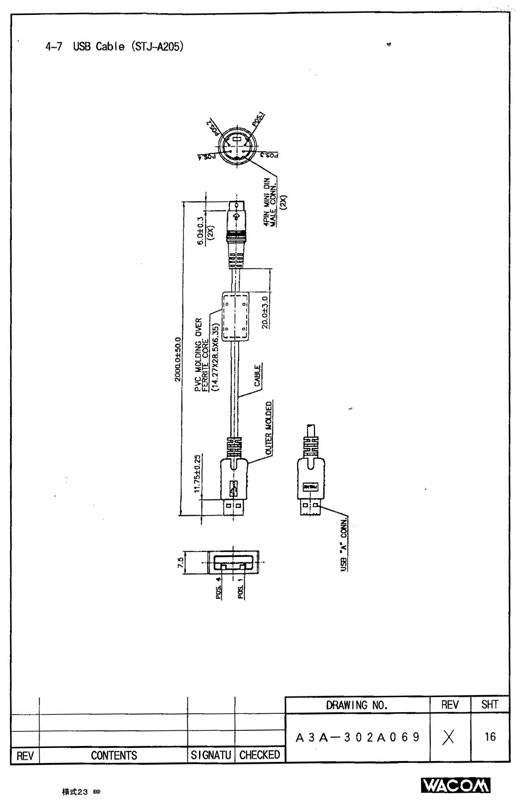
Next challenge was to find out what way Wacom had wired their version of a USB connector and compare this with the pin-outs on a 'normal' USB socket, so I could work out the wiring for the replacement USB connector I intended to try and fit in its place. There are plenty of pin-out diagrams for USB and other connectors on the web [pinouts.ru is particularly comprehensive]. So I trawled a few of them and was also fortunate enough to come across a blog post by a geezer calling himself 'Mongadillo' who had adopted a similar approach to myself in reviving an old Cintiq [although, in his case he’d built a custom lead, where I intended to replace the proprietory socket on the tablet itself]. Mongadillo had managed to scrounge a copy of the blueprint for the proprietory connector off Wacom, so that was a great help in working out how it was wired.
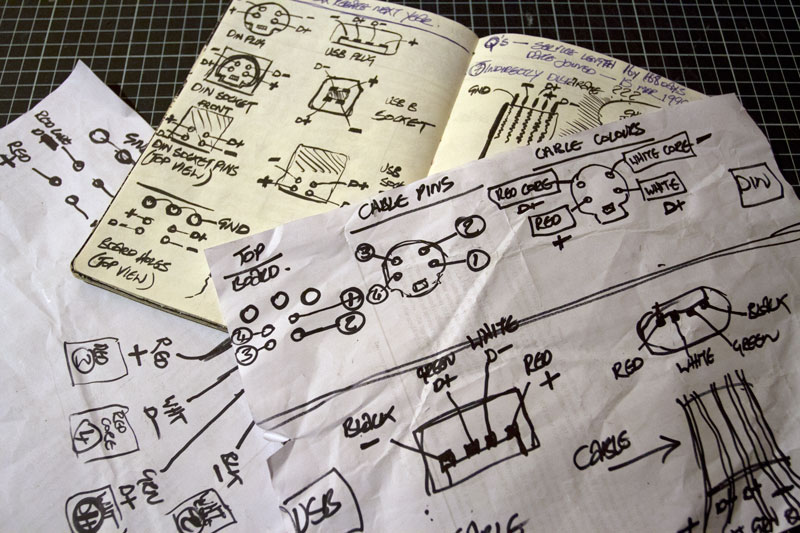
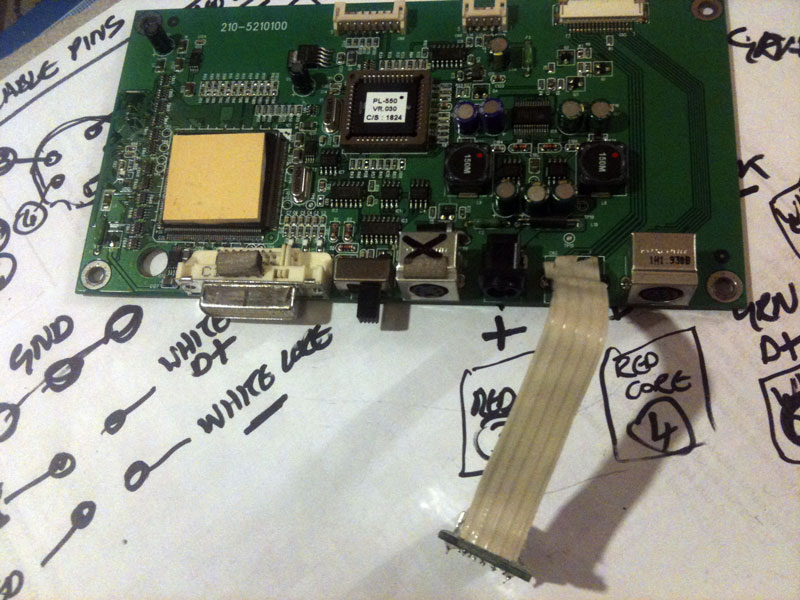
Still, in spite of this, as you can see from my scribbles below, working out how the connectors on one USB lead [with one colour scheme for the wiring] mapped to another set of connectors on a circuit board with a different wiring scheme --whilst also performing translations of pin numbers to account for certain parts being either the male or female connector and even more translations to account for whether said connector or board was being viewed from above/below or front/back felt like one of thos IQ test questions where they show you a shape and then you have to select which other shape corresponds to it after it’s been rotated a bit and/or flipped over, etc. So I made sure to take copious notes and do plenty of double-checking with my circuit tester as I went along. Just to make sure I didn’t cock anything up.
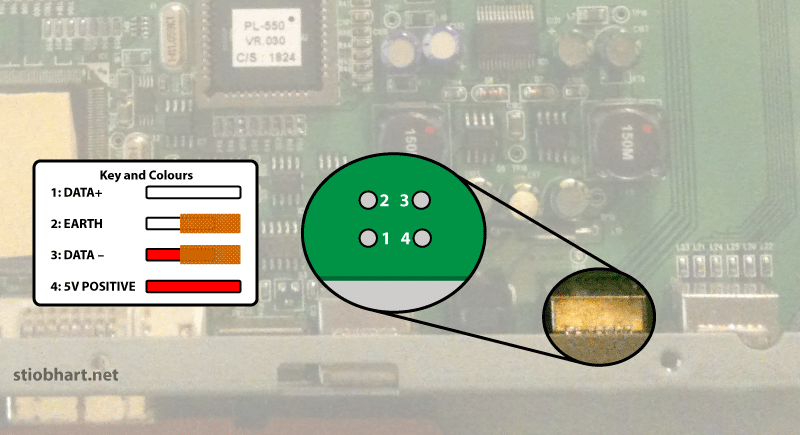
Having worked out [I hoped!] what pins did what and what wires on my USB cable corresponded to what pins on Wacom’s connector, it was ready to get stuck in and start the 'transplant'. Below is a slightly more presentable version of my findings, distilled from those various notes and scribbled diagrams above.
DISCLAIMER: This is what worked for me and what I found when dissecting my Wacom and some USB cables. You might have different connectors and will probably have different wiring colours. There’s no guarantee that following what I did here won’t cause your Wacom to burst into flames and burn your house down. I’m just presenting the info [as I found it] here, in case it helps someone. No guarantees. No money back!
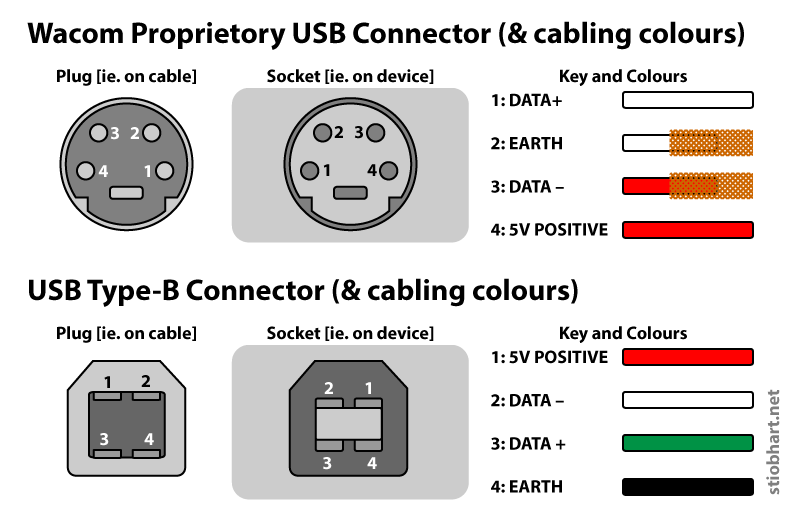
After carefully de-soldering the Wacom socket from the circuit board, I was ready to replace it with my own standard USB connector. The following diagram shows how the holes left on the circuit board after removing the socket [viewed from above] map to the various USB pins. Again: use at own risk.
Unfortunately the pins [or their holes] left on the circuit board after removing the Wacom connector were not arrayed in such a way as to allow me to directly swop in a USB connector, so I had to 'extend' the connectors by using a bit of ribbon cable, which I scav’d from an old keyboard.
Then I added a USB socket onto the end of the ribbon cable. At this point I made a "Schoolboy error. Off the pitch!" mistake. Can the astute reader spot it before I reveal my idiocy in the next section? There’s a clue in the diagrams earlier.
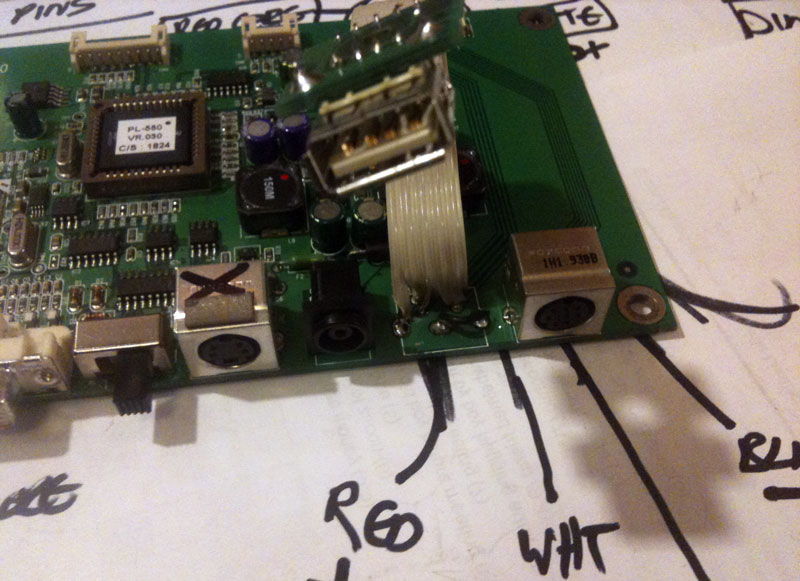
Well, did you get it?
I’d put a 'female' USB Type-A socket on the end of the ribbon cable --just like the female socket you’d have providing the USB port on your computer. But of course, as I forehead-slappingly realised, practically all USB Type-A-to-Type-A leads have a female connector at one end and a male at the other. So, in order to plug this into my computer, I’d need a male-to-male Type-A USB lead, which hardly exists. Well done stío. You’ve eliminated the need for a proprietory Wacom lead by inventing your own proprietory lead!
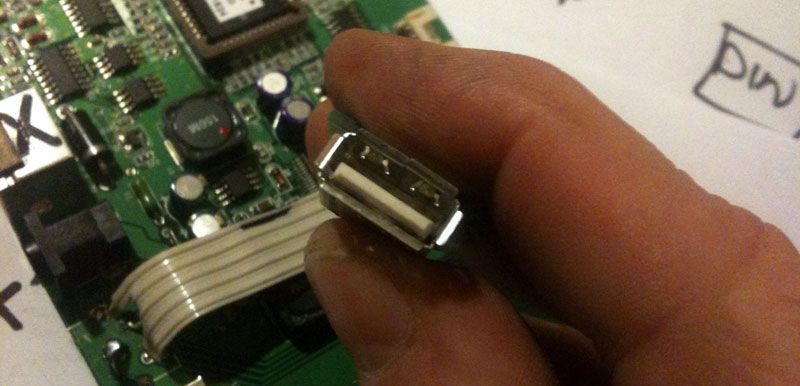
Much wailing and gnashing of teeth later, I’d swapped the female Type-A socket for a female Type-B socket. Type-A-to-Type-B USB leads are commonly used with printers or scanners and, unlike Type-A-to-Type-As tend to be male-to-male [ie. attach to their equivalent female socket at both ends]. So we were back on track --after that slight detour down Fuckwitt alley.
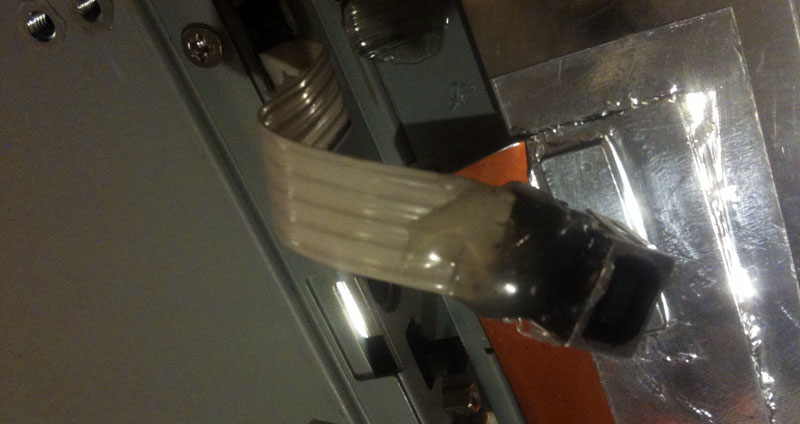
One more annoyance before I bolted everything back together again. The metal casing behind which the connection ports sit was too narrow to allow me to 'hide' my new USB port neatly behind it. So I was going to have to route the ribbon cable out through it and mount my USB socket on the back of the Cintiq itself. The hole drilled in the casing where the old Wacom connector used to live was too tight to feed the ribbon cable through without my worrying that it might cut into the insulation and cause a short circuit. So I had to get out my Proxxon mini angle grinder and make a bit of a bigger 'exit wound'.
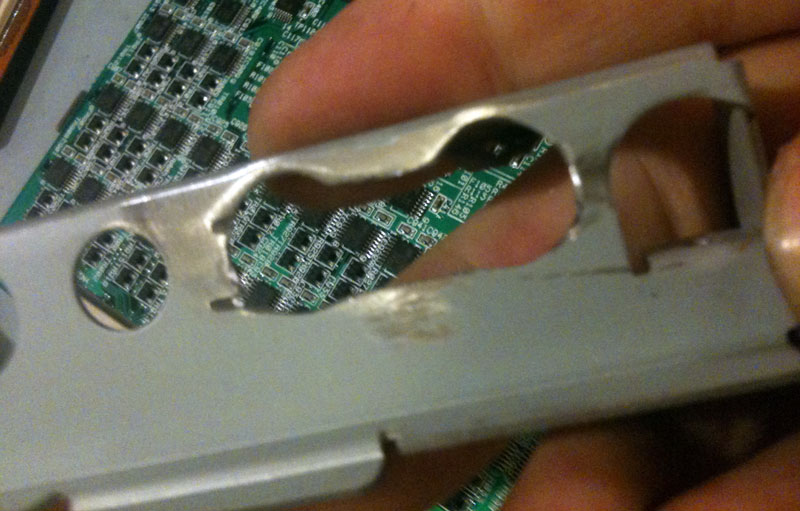
Naturally there then followed a lot of testing and making sure everything worked but --finally!-- it was time to bolt everything back together again.
I fed the ribbon cable out through the metal casing and rear of the Cintiq, positioned the USB socket and then, got out the Glue Gun and dolloped several gallons of nice gloopy glue over everything to hold it in place. The end result won’t win any prizes for "invisible mending"….
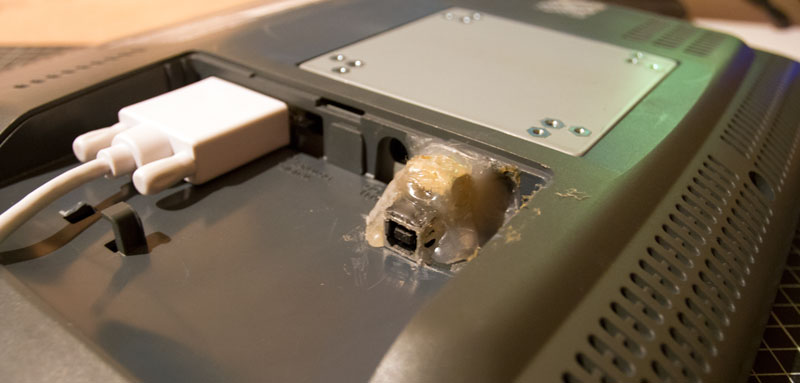
…but the old Wacom Cintiq can now be connected to my computer using an everyday printer/scanner USB lead.
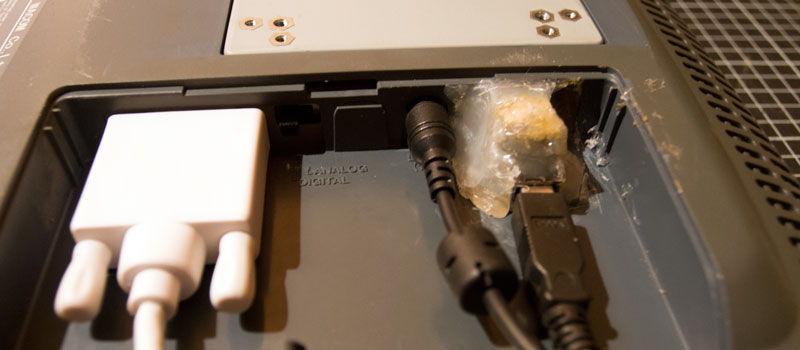
And, in answer to the most important question of all: "But does the fecking thing work, after all that butchery?"…
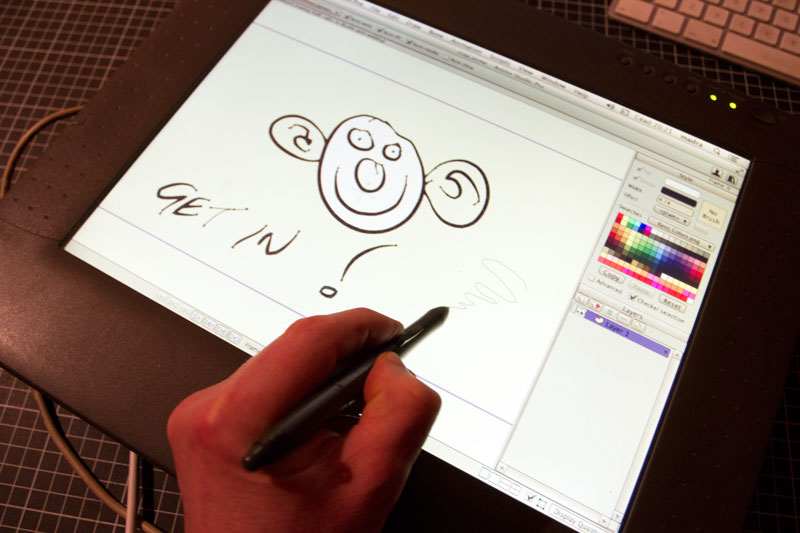
It’s not perfect. Being one of the 'old school' Cintiqs, the thing weighs a fecking tonne and, thanks to its sojourn in the skip, there are a few scratches on the screen and a handful of dead pixels. But, given the cost of a new Cintiq of equivalent size is well over a grand and this cost me nothing apart from a couple of hours of time and a bit of soldering and gluing, I think we can safely declare the job a "good 'un"!
